
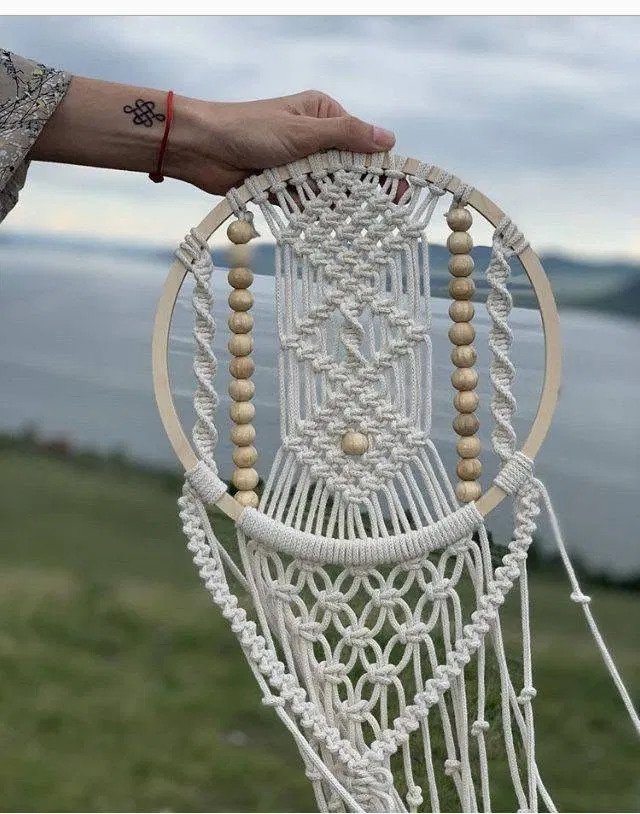
This beaded dreamcatcher macramé pattern transforms a simple wooden hoop into a stunning wall hanging. With its square-knot diamond panel, twin bead columns, and flowing knotted skirt, the design suits anyone seeking a boho centerpiece for a bedroom, nursery, or meditation space. The pattern is rated intermediate because it combines multiple techniques—double half hitch diamonds, spiral sennits, and wrapped bars—but each step is clearly illustrated.
Beaded Dreamcatcher Macramé Pattern: What’s Inside
You can complete this piece in 6–9 hours, or roughly two to three evening sessions. Your download includes a full step-by-step illustrated PDF plus a printable quick-reference card showing cord layout, bead placement, and the seven-section build order. In addition, the guide covers technique deep-dives for the DHH diamond panel, bead-column threading, and the wrapped-bar transition that anchors the skirt.
Materials and Who Will Love This Project
You will need approximately 66 yards of 3 mm single-strand cotton cord, one 10-inch wooden hoop, and eighteen 16 mm wooden beads (plus one 20 mm center accent). Because the pattern layers texture—smooth beads, crisp square knots, and spiral columns—it appeals to makers who enjoy mixing geometric and organic elements. Meanwhile, the airy skirt net adds movement, so the finished piece catches light beautifully when hung near a window.
Whether you are an intermediate crafter looking to refine your knotting skills or a confident beginner ready for a new challenge, this beaded dreamcatcher macramé pattern guides you every step of the way. Therefore, gather your materials, set aside a weekend, and watch your hoop come to life.